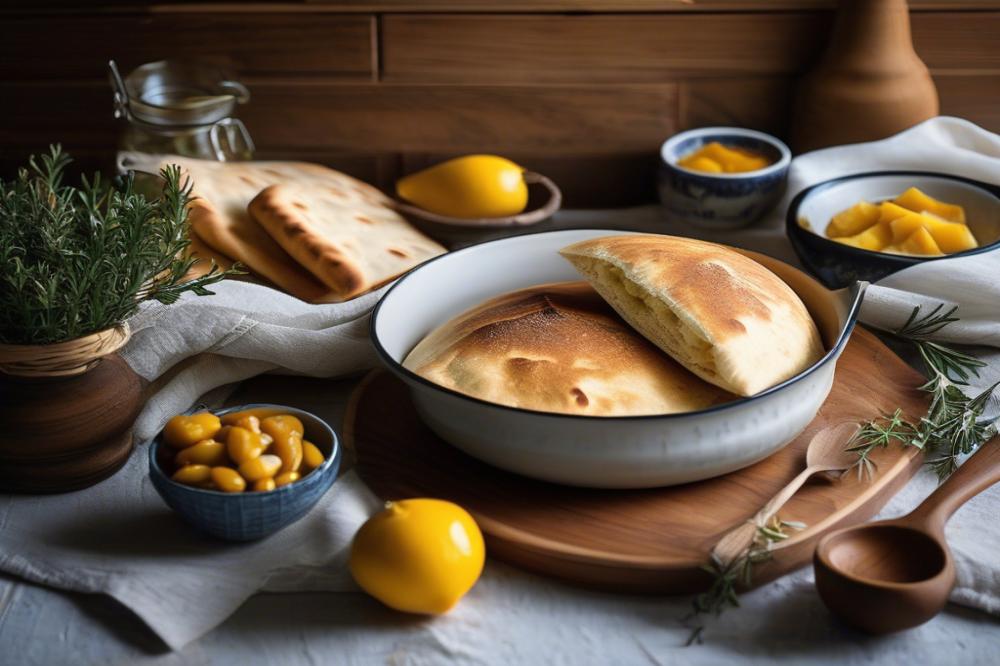
The Art of Baking Greek pita bread
Greek pita bread holds a special place in the heart of Greek cuisine. This delightful flatbread is not just food; it is a cultural staple that brings people together. Pita can accompany many dishes, from savory gyros to sweet baklava. It serves a vital role as a vehicle for rich flavors, making meals not only delicious but also enjoyable.
Mediterranean food often celebrates fresh ingredients and simple preparation. Greek pita is no exception. Its soft, yet chewy texture elevates meals and enhances the dining experience. The beauty of this flatbread lies in its versatility. You can enjoy it with dips like tzatziki or fill it with grilled meats and fresh vegetables. Recipes for pita are plentiful, but homemade varieties stand out. They provide an authentic taste that store-bought options just can’t match.
Crafting your own pita allows for magic in the kitchen. Working with dough creates a connection to traditional baking practices. Using yeast, water, flour, and salt is not complicated. Enhancing basic ingredients with your own cooking tips makes all the difference. Not only do you get to savor fresh bread, but you also gain satisfaction from making it yourself.
Each bite of warm, homemade pita transports you to the sunny Mediterranean. Families gather around the table, sharing laughter and meals, all anchored by this beloved bread. So, why not embrace the art of baking? With a few simple steps, you can bring the taste of Greece into your home. Quality ingredients and patience with the Baking Techniques will yield delectable results.
The Essentials of Greek Pita Bread
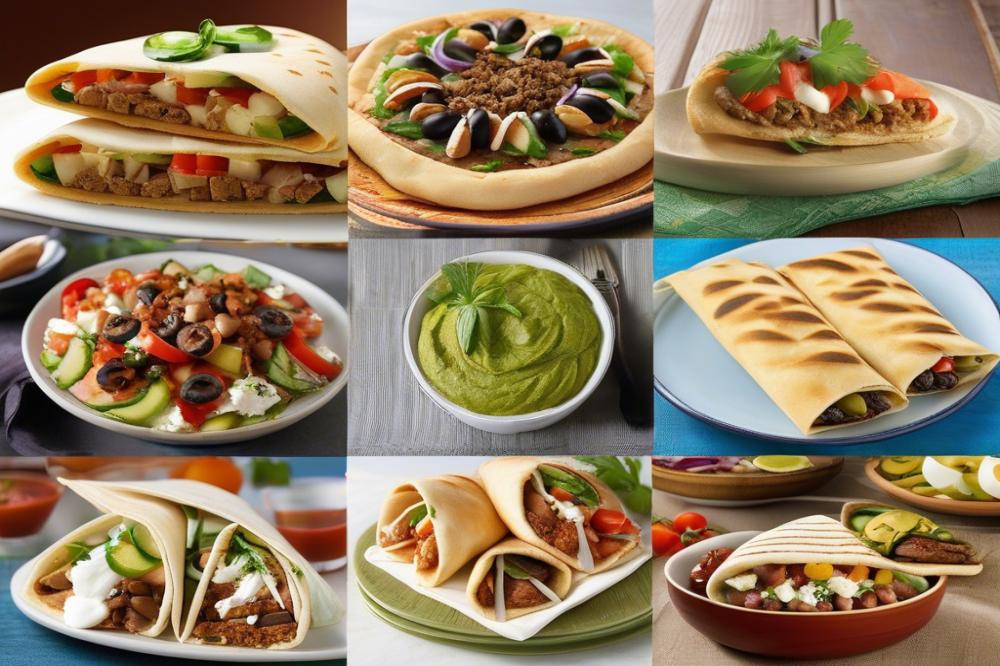
When embarking on the journey to create homemade pita, understanding the ingredients is crucial. Each component plays a significant role in the final flavor and texture of the bread. Let’s break down these essentials.
Key Ingredients
Yeast is the heart of this process. It acts as a leavening agent, helping the dough to rise and create that lovely pocket in the pita. Without yeast, our flatbread would be tough and dense, rather than soft and fluffy.
Next, consider flour. All-purpose flour is common, but some choose to use whole wheat flour for a healthier twist. Its protein content is vital for structure. Flour provides not just texture, but also flavor, making it fundamental in Mediterranean food like this.
Water is equally important. It hydrates the flour, allowing gluten to develop. Warm water can help kickstart the yeast’s activity, leading to better fermentation. It’s amazing how a simple element can make such a difference.
Salt, while seemingly minor, enhances flavor and controls the yeast’s fermentation process. Too little salt can lead to overactive yeast, resulting in a bread that doesn’t have the right taste or texture. Balance is key in creating mouthwatering recipes.
Nutritional Breakdown
Looking at the nutritional content, yeast is low in calories but a powerhouse of nutrients. It contains B vitamins, which are important for energy metabolism. Flour provides carbohydrates, a primary energy source for the body.
Water, on the other hand, adds hydration without any calories. Staying hydrated is vital in any cooking process as well. Salt is often used in moderation, contributing minimal calories while enhancing the flavors of the other ingredients.
Understanding these components elevates your cooking experience. Each ingredient in pita bread combines to create not just a flatbread, but a delightful addition to many meals. With the right technique and understanding, you’re on your way to mastering a staple of Greek cuisine.
Ingredients and Cooking Instructions
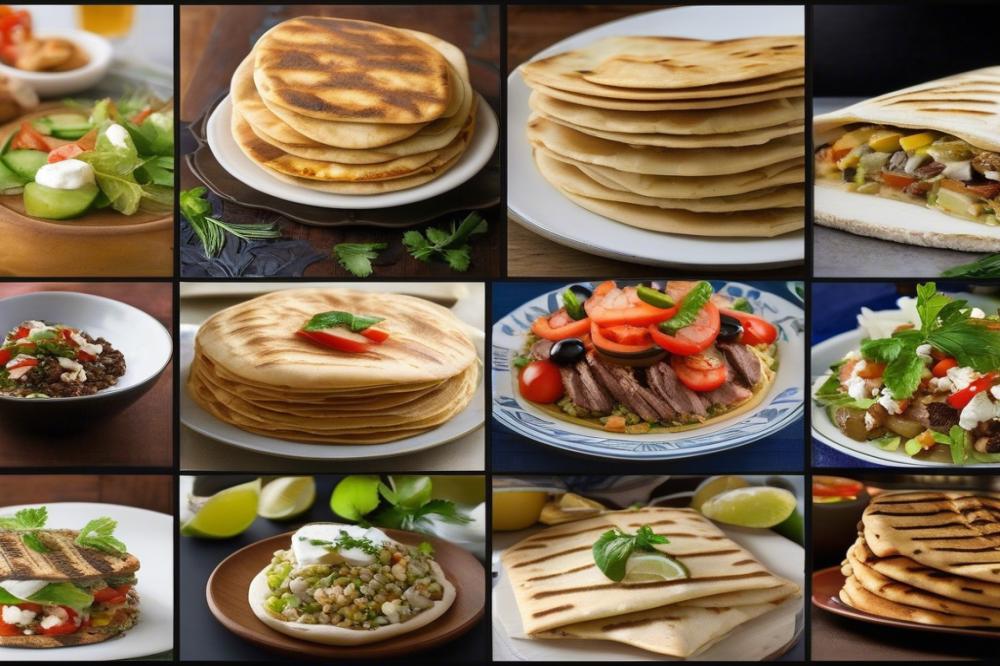
Making homemade pita is a rewarding venture. To begin, gather the following ingredients:
- 2 cups all-purpose flour
- 1 cup warm water
- 2 teaspoons active dry yeast
- 1 teaspoon salt
- 1 tablespoon olive oil
Now that you have everything ready, let’s dive into the cooking instructions. Each step is crucial for developing that soft, puffy texture we love in Mediterranean food.
Activating the Yeast
First, take a small bowl. Combine warm water and yeast. Stir gently. Let it sit for about 5 to 10 minutes. You will notice bubbles forming on the surface. This means the yeast is alive and ready to work its magic. If there are no bubbles, you may need to start over with fresh yeast.
Mixing and Kneading the Dough
In a large mixing bowl, combine flour and salt. Make a well in the center. Pour in the activated yeast mixture. Add olive oil, too. Mix until a dough begins to form. Once it pulls together, turn it out onto a floured surface. Knead the dough for about 8 to 10 minutes. The goal is to achieve a smooth, elastic texture. Patience is important here!
First Rise and Shaping the Pita
Place the kneaded dough in a lightly greased bowl. Cover it with a clean kitchen towel. Let it rise in a warm place. This should take about an hour. Your dough should double in size. Once it has risen, punch it down gently to release air. Form the dough into small balls, about the size of a golf ball. Roll each ball into a circle, roughly 6 inches across. This will form the base of your flatbread.
Second Rise and Baking Details
Arrange the rolled-out pitas on a baking sheet lined with parchment paper. Cover them again with the towel. Allow them to rise for another 30 minutes. Preheat your oven to 475°F (245°C) during this time. Baking on high heat is key to achieving the desired puff. After the second rise, place the baking sheet in the oven. Bake for about 3 to 5 minutes. You will see them puff up beautifully! Remove the pita bread once it turns slightly golden.
Enjoy your pita! It’s perfect for dips, sandwiches, or simply on its own. The joy of making this versatile component of Greek cuisine will be evident in each bite.
Techniques for Perfect Greek Pita Bread
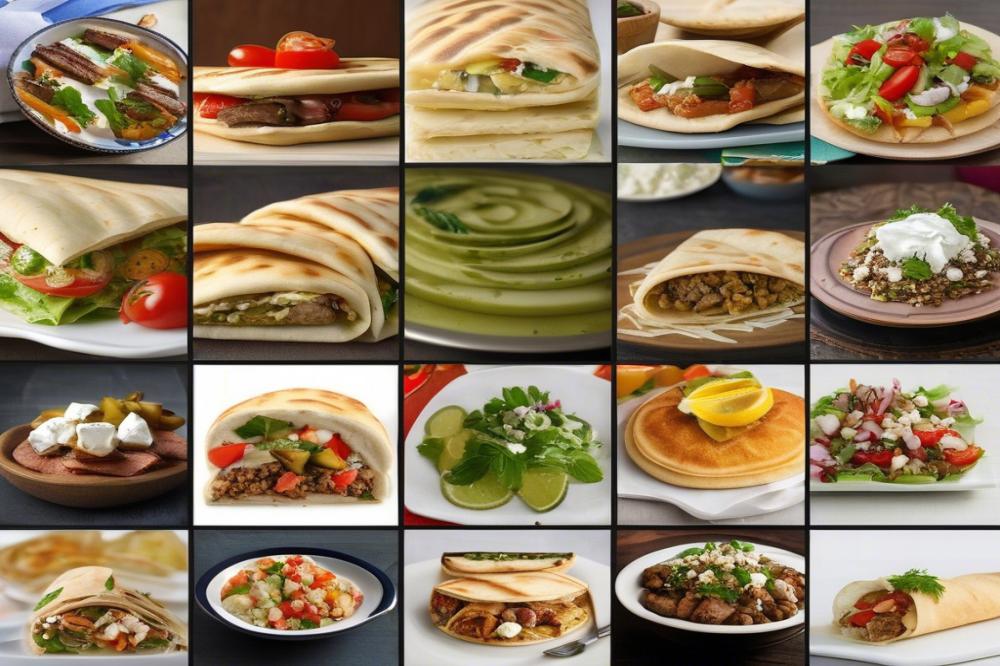
Baking homemade pita requires a careful balance of techniques to achieve both great texture and rich flavor. Start with quality ingredients; the choices you make matter. Always use fresh yeast for the best rise. The flavor of the bread will improve dramatically when you do this. Keep in mind that using a stand mixer can save time, but kneading by hand connects you with the process.
Importance of Dough Rising Time and Temperature
The rising time of your dough plays a crucial role in the final product. Allow the dough to rest in a warm environment. A consistent temperature of around 75°F to 80°F will help the yeast to do its job. Longer rising times can develop deeper flavors, so don’t rush it. Cover the dough with a damp cloth to prevent it from drying out. Patience is key here!
How to Ensure the Pockets Form Properly
Pockets are the hallmark of a good pita. To master this, rolling the dough evenly is essential. Once you divide the dough, shape each piece into a ball before rolling them out. Aim for a thickness of about a quarter of an inch. Preheat your oven to the highest temperature to create steam; this makes the dough puff up perfectly. A baking stone or an upside-down baking sheet can mimic traditional Mediterranean ovens. When the edges cook quickly, you’ll see lovely pockets form.
Lastly, don’t forget about the cooling process. Letting the pita sit for a few minutes after baking will help maintain softness and enhance its shape. Remember, great recipes are about trial and error, so keep experimenting. Your pita adventure is just beginning!
Serving Suggestions and Accompaniments
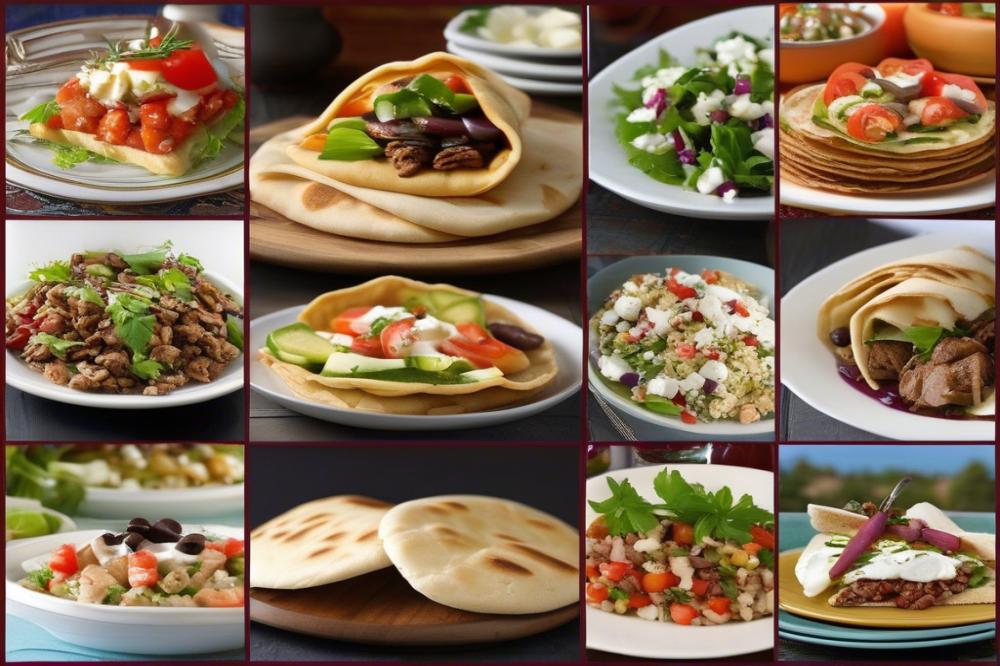
When it comes to enjoying pita, the options are endless. Traditional Greek cuisine offers a variety of delicious pairings that elevate any meal. Imagine a warm, homemade flatbread stuffed with flavorful fillings. Gyros are a popular choice and make for a satisfying meal. Juicy meats, like lamb or chicken, wrapped in fresh pita create a burst of flavor in each bite. Adding fresh vegetables enhances both taste and nutrition.
Try including crumbled feta cheese as well. Its creamy texture and salty flavor complement the bread wonderfully. Slices of ripe tomatoes and crunchy cucumbers add freshness. Use herbs like parsley or mint for an extra kick. These ingredients come together to make a delightful filling that excites your taste buds.
Dips to Enhance Your Meal
No Mediterranean meal is complete without dips. Tzatziki is a classic condiment made from yogurt, cucumbers, and garlic. This cool, refreshing sauce pairs perfectly with warm pita. Spread it generously on your flatbread or use it as a dip. Hummus is another fantastic option, made from blended chickpeas, tahini, and lemon juice. Dip your pita directly into hummus for a creamy treat that’s hard to resist.
Experimenting with different dips can add variety to your meals. Consider roasted red pepper hummus for a sweet twist. Olive tapenade introduces a unique taste that’s packed with flavor. A simple drizzle of olive oil and a sprinkle of herbs can also make for a delightful addition.
Creative Ideas for Filling Your Pita
Throughout Greek cooking, using dough is common. Making pita is a straightforward process, and using yeast ensures a fluffy result. Baking this flatbread at home allows you to enjoy the freshest taste possible. Cooking tips can help achieve the ideal puff and texture. Remember, practice makes perfect, so don’t be afraid to try making your own!
Troubleshooting Common Issues
Baking pita bread can be a fun experience, but sometimes things don’t go as planned. Common mistakes often happen during the process. In Greek cuisine, the perfect pita should puff up beautifully, but if yours comes out dense or flat, don’t worry. With a few tips, you can improve your homemade flatbread.
Common Mistakes When Baking Pita Bread
One frequent issue is using old yeast. If the yeast is expired, the dough will not rise correctly. Another common mistake is not letting the dough rest enough. Proper resting time is crucial for the yeast to do its job. If the dough feels tough while shaping, you may have added too much flour. This can lead to a heavy pita.
Solution Tips for Issues Like Dense Bread or Non-Puffed Pita
Dense bread can be fixed by ensuring your dough is soft and elastic. When preparing the dough, knead it well. A good guide is to knead for at least 10 minutes. Allowing the dough to rise until it doubles in size is also important. This waiting time allows the yeast to work its magic.
If your pita doesn’t puff, check your oven temperature. It needs to be hot enough. Ideally, aim for temperatures around 475°F (245°C). This high heat causes steam to form quickly, making the bread puff up. Use a baking stone or a preheated pan to help retain heat.
Advice for Adjusting Recipes Based on Variations in Ingredients
Ingredients can vary, so don’t be afraid to adjust. If you’re using whole wheat flour instead of all-purpose, add a little more water. Whole wheat absorbs more liquid. The same goes for other flours; each one has its own behavior. Pay attention to how the dough feels as you mix it. That’s your best clue.
Humidity can also affect your dough. On a humid day, your dough might feel stickier. In that case, dust a little flour as you knead. Conversely, on a dry day, you may need to add more moisture to the dough. Small adjustments can make a significant difference.
When trying new recipes, remember that each oven is different. Keep an eye on your pita bread while it bakes. Taking notes on what works or doesn’t is a smart idea. This experience will help you perfect your Mediterranean food skills.
Final Thoughts on Baking and Sharing
Creating homemade pita brings a touch of Greece right into your kitchen. This simple yet delightful bread is not just a side dish; it’s a canvas for flavors and traditions. Embracing the process of making it from scratch can deepen your appreciation for Mediterranean cuisine. Remember, each bite of freshly baked pita is filled with warmth and love.
Venturing into other classic Greek recipes can be an enriching experience. Dishes like moussaka, spanakopita, and tzatziki await your culinary exploration. Each recipe holds its own story and history, making it a treasure to uncover. So why stop at one when a whole world of flavors is at your fingertips?
Baking is more than just following a recipe. It forms connections with friends and family as food is meant to be shared. Your kitchen can become a gathering space where delicious meals spark laughter and conversation. Share your pita and your joy with those you care about. It invites everyone to the table, celebrating togetherness through the art of cooking.
In summary, homemade Greek bread is a wonderful starting point for your culinary journey. Embrace the joy of baking, and let it inspire you to explore further into the rich tapestry of Mediterranean cuisine. Remember, cooking at home can be both rewarding and enjoyable, offering not just nourishment but also experiences to cherish and share.

