
How to Bake Crusty baking-oatmeal-bread-for-a-hearty-breakfast”>Dutch oven bread
baking bread at home can be a rewarding experience. The smell of warm, fresh bread wafting through your kitchen is simply irresistible. It brings a sense of comfort and filling joy, making it a favorite pastime for many. Who doesn’t love the satisfaction of slicing into a loaf you made yourself? Homemade bread tastes better than anything from a store, and it can even be a fun activity to share with family.
One popular method for creating artisanal loaves is using a Dutch oven. This simple piece of cookware turns ordinary ingredients like flour, yeast, and water into a crusty bread that rivals what you find in bakeries. The Dutch oven traps steam while baking, creating a crispy exterior and a soft, chewy interior. It’s an ideal way to bake without specialized equipment.
No-knead bread recipes have gained tremendous popularity among both new and experienced bakers. These recipes allow you to create bread with minimal effort. In fact, with no kneading required, anyone can mix the ingredients and let time do the work. This makes bread baking accessible, allowing everyone to enjoy the art of making homemade bread. With just a few baking tips, anyone can produce delectable loaves that impress family and friends.
If you’re ready to embark on this journey, grab your flour and yeast, and let’s dive into the world of Dutch oven bread. Bread baking can transform your kitchen into an inviting space that draws people together. So, roll up your sleeves and get ready to experience the joy of crafting crusty bread from scratch!
What is Dutch Oven Bread?
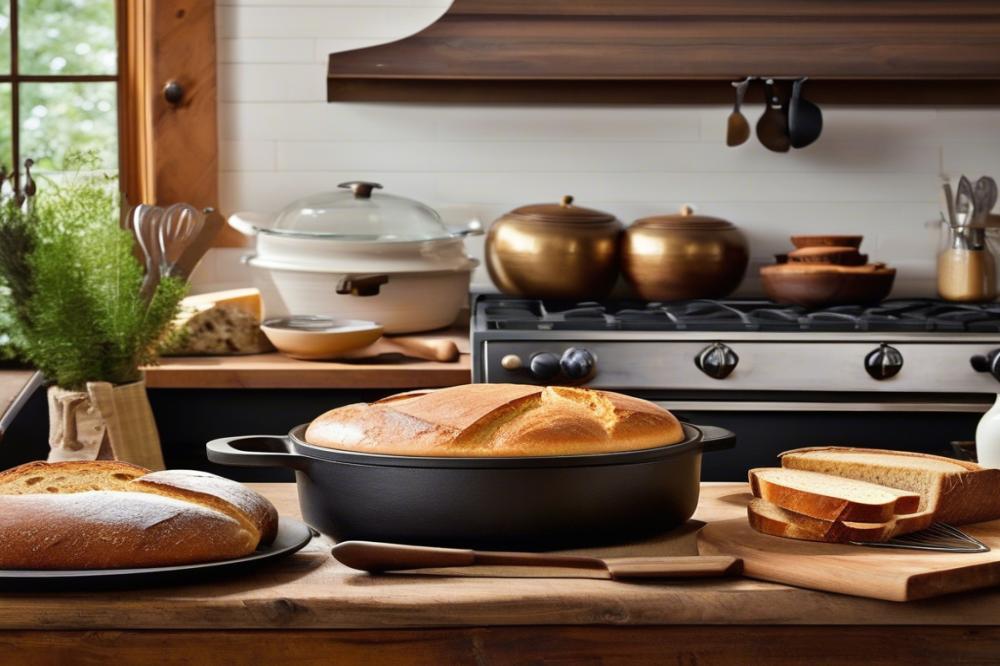
Dutch oven bread refers to a method of baking bread that combines a few simple ingredients: flour, yeast, water, and salt. This straightforward bread recipe results in a crusty exterior and a soft, airy interior, which is a hallmark of artisan bread. Home bakers treasure the ease and flavor of this no-knead bread technique. A common kitchen tool, the Dutch oven, is key to achieving that perfect crust.
The use of a Dutch oven for baking comes with significant benefits. First, the heavy lid captures steam during the baking process, creating a moist environment. This steam contributes to a beautiful crust. Additionally, it maintains consistent heat throughout, which helps bread rise properly. Overall, the Dutch oven creates an ideal baking space for homemade bread, reducing the chances of a failed loaf.
When comparing this method to other bread baking techniques, several differences stand out. Traditional baking methods often rely on a hot stone or baking sheet. However, these approaches typically lack the steam that a Dutch oven provides. The steam in the closed container allows for a crust that is both golden brown and crunchy. In contrast, oven-baked bread on a sheet pan can come out dense and lacking that satisfying texture.
Home bakers looking for proven bread baking tips often recommend experimenting with this method. Because of the simplicity of the ingredients and steps, many find success quickly. Whether you’re a novice or a seasoned baker, using a Dutch oven can transform your baking experience. Plus, the versatility of this technique allows for creativity in flavor and shape.
Ingredients List and Quantities
Baking crusty bread at home is a rewarding experience, and it starts with the right ingredients. For this simple bread recipe, gather the following items:
- 3 cups all-purpose flour
- 1 ½ teaspoons salt
- ½ teaspoon instant yeast
- 1 ½ cups warm water (about 110°F)
Understanding these ingredients helps in creating delicious homemade bread. Flour plays a key role; it provides carbohydrates that form the structure of the bread. You will also get some protein and fiber, making this an essential component for any artisan bread.
Salt, although often overlooked, is vital. It contains sodium, which enhances the flavor of baked goods. Without it, your bread might taste bland and uninviting, lacking that desirable depth.
Yeast contributes significantly to the baking process. This tiny organism plays a big role in fermentation. As it feeds on sugars, it produces gas, causing the dough to rise and develop flavor.
Water is indispensable for mixing all the ingredients. It hydrates the flour and activates the yeast. The right temperature of about 110°F is crucial. Too hot or too cold water can affect yeast activity, impacting your bread baking tips.
Gather these elements, and you’re on your way to a satisfying baking adventure. Enjoy the process of making your own no-knead bread. The aroma of baking bread fills the kitchen with warmth, promising a delightful meal ahead.
Baking Method for Dutch Oven Bread
Step-by-step instructions for preparing the dough
Begin by gathering your ingredients: flour, salt, yeast, and water. Mixing these components is simple. Combine three cups of flour with one teaspoon of salt in a large bowl. Then, add one-half teaspoon of instant yeast. Stir everything together until it forms a rough mixture. Slowly pour in one and one-half cups of water. Make sure it’s lukewarm for best results. Use a wooden spoon or a spatula to combine until a sticky dough forms. This no-knead method requires minimal effort, making it perfect for newcomers to bread baking.
After mixing, cover the bowl tightly with plastic wrap or a kitchen towel. Find a warm place for the dough to rest. Allow it to rise for twelve to eighteen hours. The longer it sits, the more flavors will develop. A good tip is to check on it occasionally. You’ll see bubbles forming on the surface, which indicates that your yeast is doing its job.
Preheating the Dutch oven
Before the dough is ready, preheat your Dutch oven. Set your oven temperature to 450°F (232°C). Place the Dutch oven, including the lid, inside the oven while it heats up. This step is crucial as it creates the steam needed to get that crusty exterior. Let it heat for at least thirty minutes. While waiting, enjoy the aroma of what’s to come.
Shaping the dough and second rise
Once the dough has risen, it’s time to shape it. Lightly flour a clean surface. Turn your dough out onto the floured area, being careful to preserve air bubbles. With floured hands, fold the dough over itself a couple of times. This simple technique helps create structure. Form it into a round ball by tucking the edges underneath.
Next, place the shaped dough onto a piece of parchment paper. Cover it loosely with a towel and let it rise for another thirty minutes. This second rise helps create a light, airy texture. The dough will expand, so make sure there’s room around it.
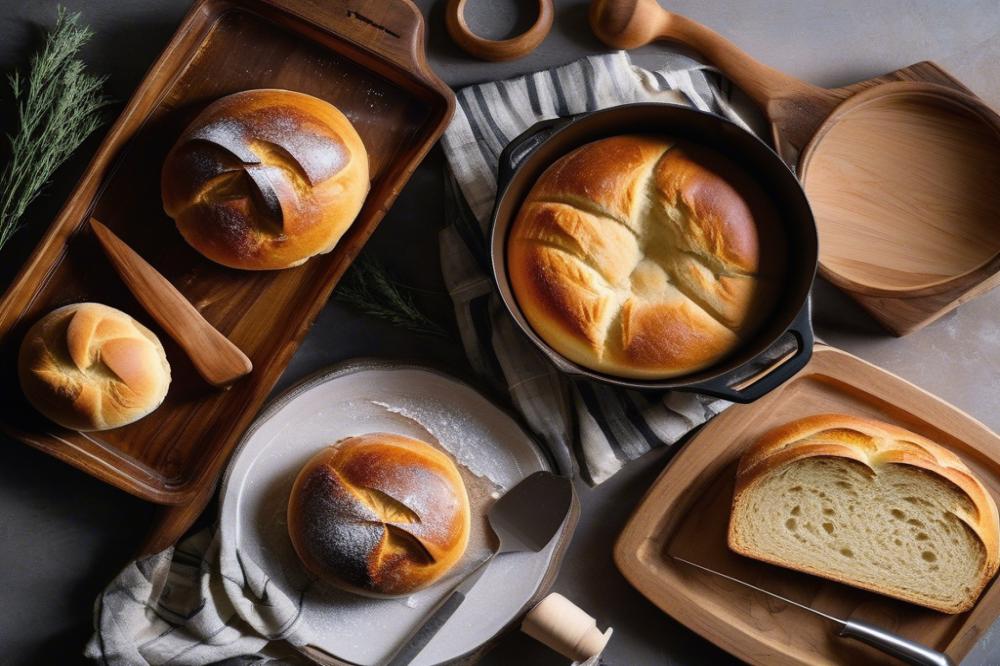
Baking in the Dutch oven
After the second rise, it’s time to bake your homemade bread. Carefully remove the preheated Dutch oven from the oven, using oven mitts to protect your hands. Lift the parchment paper with the dough and place it directly into the Dutch oven. Be cautious as the pot will be extremely hot. Cover it with the lid and bake for thirty minutes. The steam trapped inside will work wonders, making the crust crispy and delicious.
After the initial baking time, remove the lid. Bake for an additional fifteen to twenty minutes. This will give your artisan bread a beautiful golden-brown crust. Keep an eye on it towards the end to avoid burning.
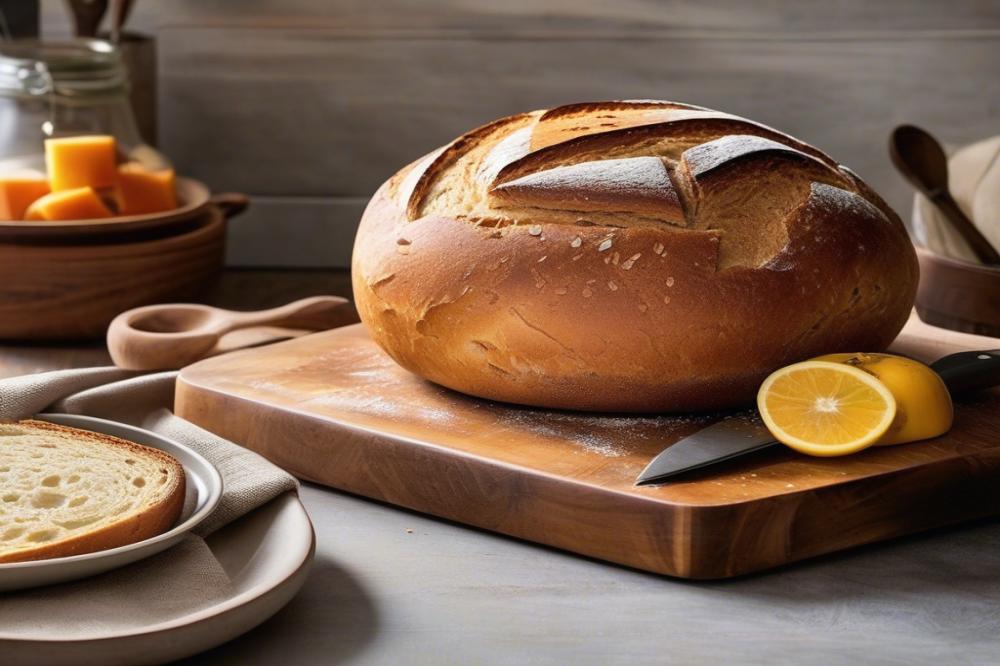
Cooling the bread
Once the baking is complete, take the Dutch oven out of the oven. Carefully lift the bread, using the parchment paper as a handle. Place the bread on a cooling rack. Let it cool for at least thirty minutes before slicing. This cooling phase is vital for solidifying the structure and enhancing flavor. Cutting too soon can lead to gummy bread. Patience pays off when it comes to enjoying your perfect loaf!
Baking Tips for Perfect Dutch Oven Bread
To start, proper measurements are crucial when baking. Accurate amounts of flour, water, and yeast can make or break your bread recipe. Using a kitchen scale can be helpful, as it provides precision. A difference of just a few grams can affect the dough’s hydration and rise.
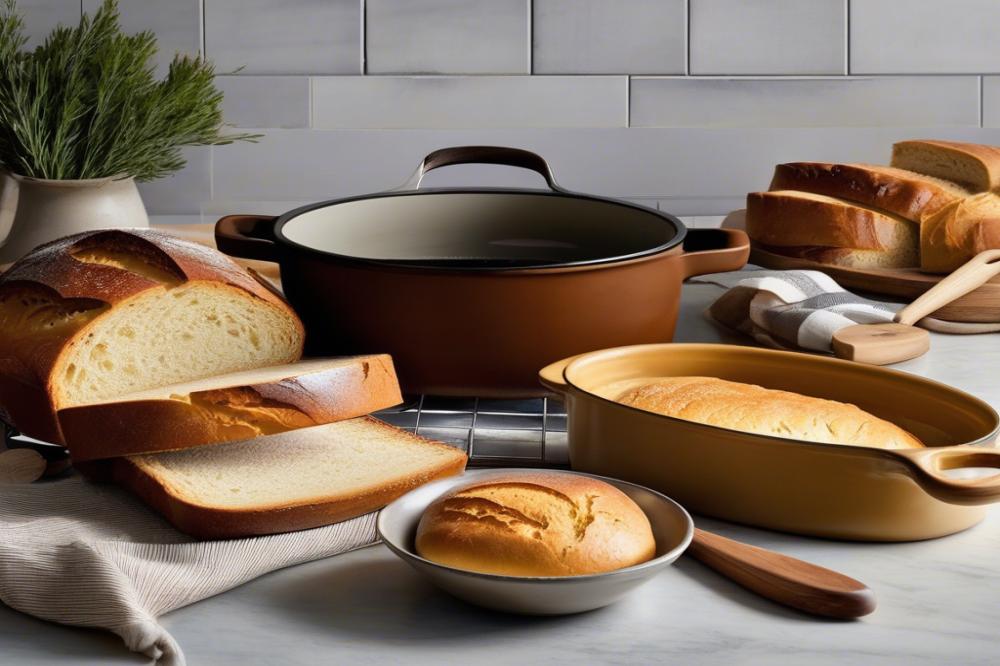
Next, consider the type of flour you choose. Bread flour offers higher protein content, contributing to better gluten development. This leads to a chewier texture, ideal for artisan bread. All-purpose flour can also work, but it may produce a softer result.
A crusty exterior is a hallmark of great homemade bread. To achieve this, make sure to preheat your Dutch oven thoroughly. The hot surface helps create steam, which is essential for forming a crispy crust. You can add a small amount of water to the bottom of the pot before covering it to enhance steam formation even more.
Oven temperature plays a significant role in your baking success. Setting your oven to a high temperature, generally around 450°F (232°C), helps create a nice oven spring. The initial heat causes the yeast to release gas quickly, expanding the dough. Using a cast-iron Dutch oven retains heat well, promoting a perfect rise.
Flavor variations can elevate your no-knead bread to the next level. Herbs like rosemary or thyme can add a nice touch. Additionally, spices such as garlic powder or onion flakes can enhance the taste. Cheese can also be mixed into the dough or sprinkled on top just before baking for an added richness.
Final Thoughts on Baking Bread
Making homemade Dutch oven bread is both simple and rewarding. The process might seem daunting at first, but it quickly becomes an enjoyable ritual. The satisfaction of pulling a warm, crusty loaf from the oven is unmatched. Each loaf serves as a reminder of the joy found in baking.
Consider experimenting with various flavors and ingredients. Adding herbs like rosemary or spices such as garlic powder can transform a basic bread recipe into something extraordinary. Nuts, seeds, or even dried fruits can provide unique twists. Don’t hesitate to get creative and make the bread your own.
The beauty of bread baking lies in its ability to bring people together. Sharing a freshly baked loaf can become a cherished tradition. Friends and family will appreciate the effort and love that goes into your creation. Moments spent around a table, enjoying warm bread, create lasting memories.
Ultimately, the art of baking is about exploration. Embrace both the successes and the flopped attempts. Every loaf teaches something new. Allow yourself the freedom to try different methods, shaping techniques, and flavor combinations. There is no wrong way to create; the key is to enjoy the journey.
In summary, making crusty bread at home is a fulfilling experience. It invites you to be both a creator and a sharer. So, gather your ingredients, preheat that oven, and let the adventure begin. Happy baking!

