Introduction
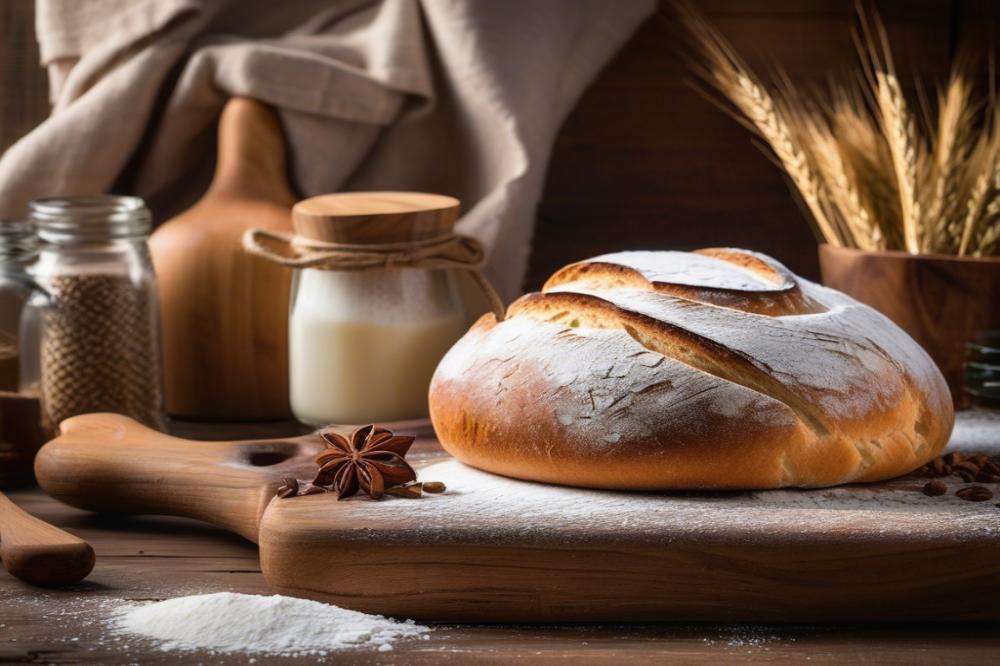
rustic bread represents a time-honored tradition of baking that evokes warmth and simplicity. Often made with minimal ingredients, it serves as a canvas for flavor and texture. The beauty of this bread lies in its rugged appearance, a hallmark of artisan bread. Among its many features, a crunchy crust stands out. This enticing texture adds a layer of satisfaction to every bite.
Creating that ideal crust is not just about aesthetics. A crunchy crust plays a crucial role in the overall taste and mouthfeel of the loaf. It protects the soft, chewy interior while locking in the steam during baking. This golden outer layer also develops a depth of flavor that can be enhanced through various baking techniques. From adjusting the oven temperature to using a baking stone, there are many ways to achieve that perfect finish.
The process of making homemade bread, especially sourdough, involves a blend of art and science. Dough fermentation is essential to develop both flavor and texture. When following a bread recipe, understanding flour types can lead to varied results. Additionally, bread scoring before baking allows steam to escape and creates beautiful designs on the crust.
Artisan bakers cherish these small details. They appreciate how each step contributes to the final product. This passion for quality and craftsmanship brings people together, highlighting the connection between practice and pleasure in bread-making. Experimenting with different techniques and flavors makes baking your own loaf an enjoyable journey.
Understanding rustic bread

Definition of Rustic Bread
Rustic bread is a type of homemade bread that features a rough texture and a hearty appearance. Often, this bread is made with minimal ingredients, emphasizing flour, water, salt, and sometimes a sourdough starter. This simplicity gives it character and a certain charm.
Characteristics of Rustic Bread
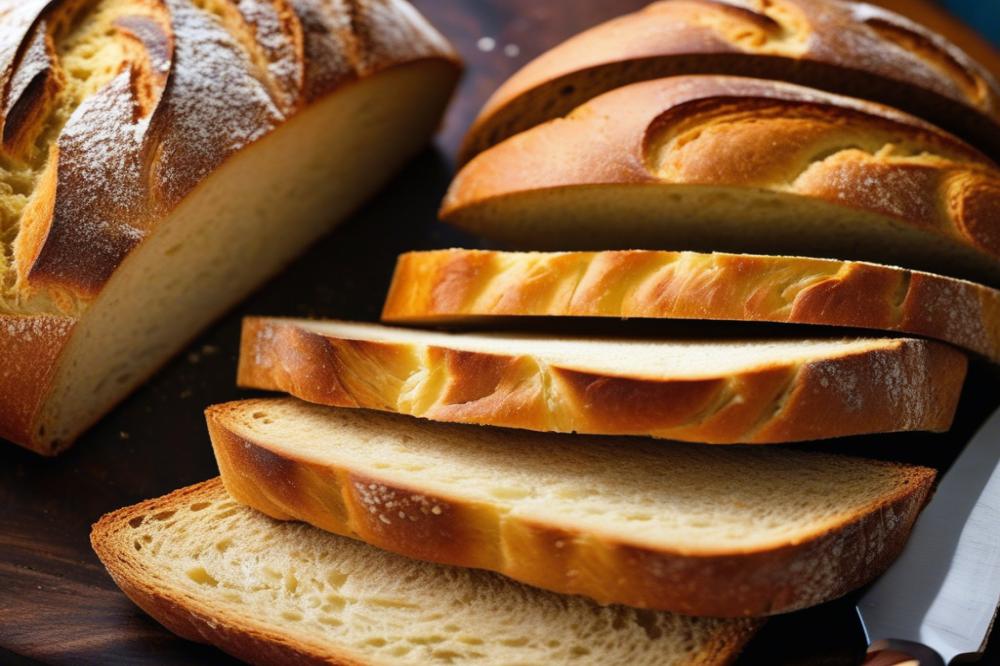
A crunchy crust stands out as one of its most notable traits. Furthermore, the interior is usually chewy and has irregular holes. Emphasizing whole grains or different flour types can enhance the flavor, making each loaf distinct. The natural fermentation process contributes to its depth of taste. Altogether, this variety of traits excites many bakers.
Sourdough vs. Yeast-Based Rustic Bread
When comparing sourdough and yeast-based options, each has its own appeal. Sourdough relies on wild yeast and bacteria found in the environment, resulting in a tangy flavor. On the other hand, yeast-based versions use commercial yeast and often rise faster. Both varieties can achieve a crunchy crust with proper baking techniques, yet the methods might defer in dough fermentation times.
Cultural Significance of Rustic Bread in Different Regions
Different regions of the world celebrate rustic bread in their unique ways. In Europe, many countries have their traditional recipes passed down through generations. For example, French bakers often create beautiful loaves called “pain de campagne.” Meanwhile, in Italy, focaccia adds a twist to rustic concepts. Many cultures value their local bread, reflecting dietary traditions and agricultural practices. Sharing bread often symbolizes hospitality, creating community bonds that last through generations. Each loaf tells a story, connecting people to their roots and history.
Ingredients and Quantities for Rustic Bread

The following ingredients are essential for creating your own unique artisan loaf. Start with 4 cups of all-purpose flour, which weighs around 500 grams. This flour serves as the base for your dough and plays a vital role in the overall texture. You will also need 1 ½ cups of water, about 360 milliliters. Water hydrates the flour, activating the proteins and starches to create the perfect environment for fermentation.
Next, add 1 ½ teaspoons of salt, or roughly 9 grams. Salt enhances flavor and helps regulate the fermentation process. A small amount of active dry yeast, specifically ½ teaspoon (about 2 grams), is also required. Yeast contributes to the rising of your dough by producing carbon dioxide during fermentation.
Nutritional Information
When you prepare your bread recipe, it’s important to consider the nutritional aspects. Typically, one slice of this homemade bread contains around 70 calories. You can expect approximately 14 grams of carbohydrates, 2 grams of protein, and a minimal amount of fat. These figures can vary based on serving size and specific ingredients.
Importance of Flour Types and Quality
When it comes to creating a crunchy crust, the type and quality of flour matter greatly. Different flour types can significantly alter the texture and flavor of your loaf. Bread made with high-protein bread flour often yields a chewier texture, while all-purpose flour is versatile for most recipes. For a more complex taste, consider incorporating whole wheat or even rye flour into the mix.
Each flour brings its own characteristics to the dough. Choose an unbleached, high-quality flour to get the best results. It will undoubtedly contribute to better fermentation and enhance the depth of flavor in your bread. Pay attention to your oven temperature as well, as it can directly affect the crust. A hot baking stone in a well-preheated oven can work wonders for crust formation.
This combination of quality ingredients, precise measurements, and effective baking techniques sets the foundation for a delicious loaf. During the dough fermentation process, the yeast works magic, creating airy pockets. These pockets will result in a delightful texture, while proper bread scoring before baking allows steam to escape and enhances the crust. These steps are crucial in achieving that perfect balance of soft interior and crunchy crust.
Baking Techniques for Crunchy Crust
Mixing and Kneading the Dough
Creating the perfect dough begins with mixing the ingredients. Combine flour, water, salt, and a sourdough starter or yeast. The right flour types are essential. Bread flour works best due to its higher protein content. This protein helps develop gluten, which gives the bread structure. Kneading is crucial as well. A good knead stretches the gluten strands, improving dough elasticity. Aim for 10 to 15 minutes of kneading. Don’t rush this step; your future bread will greatly benefit from it.
Dough Fermentation Process
The fermentation stage is one of the most vital baking techniques. Allow the dough to rise in a warm place. During this time, yeast converts sugars into gas, causing the dough to expand. Bulk fermentation usually lasts about 1 to 2 hours. This process enhances flavor through the development of natural acids. After the first rise, you can perform stretch and folds to strengthen the dough further. Patience is key here, so don’t skip the time needed for fermentation.
Importance of Hydration in the Dough
Hydration levels in the dough significantly affect the crust. A higher water content leads to a more open crumb and a crispier exterior. Most artisan bread recipes call for hydration above 70%. Experimenting with different flour types can affect your dough’s ability to absorb water. Keep in mind that wetter dough can be challenging to handle, but the results are often worth it. Remember, a well-hydrated dough creates steam during baking, which contributes to the crunchy crust.
Using a Baking Stone for Better Crust
A baking stone is an excellent tool for achieving a perfect crust. Preheat it in the oven at a high temperature—around 450°F works well. The stone retains heat, which makes the bottom of the bread cook faster and creates a delightful crunch. Place your dough on the hot stone carefully. Using a peel can help transfer it safely. Consider bread scoring before baking; it allows steam to escape and controls the way the bread expands in the oven. Those deep cuts contribute to a rustic look and an even crust.
Bread Scoring for Visual Appeal

Scoring bread serves an important purpose. It allows steam to escape during baking. This helps achieve a crunchy crust while preventing the loaf from bursting open unexpectedly. Additionally, the cuts create a beautiful design on the surface, enhancing the visual appeal of your homemade bread.
Techniques for Effective Bread Scoring
Several techniques can be used to score dough effectively. A basic approach involves making shallow cuts on the surface before placing it in the oven. Use a steady hand to create straight lines or artistic patterns, such as a cross or wheat ears. Experimenting with different designs adds character to every loaf. Another method involves diagonal cuts across the surface. This technique encourages a more pronounced rise and makes the bread look rustic.
Tools Needed for Scoring
Having the right tools can make scoring easier. A sharp blade is essential, as it creates clean lines. A bread lame, a specialized scoring tool, provides precision. Some bakers prefer using a razor blade or a sharp knife. No matter the tool, it should be comfortable to hold. A cutting board can also be useful as a surface for scoring. Keeping everything close at hand makes the process smoother.
When working with sourdough, pay attention to dough fermentation. The fermentation process can affect the scoring’s outcome. A well-fermented dough will have good structure, making it easier to score without deflating. Ensure you practice different flour types to find the right texture. A thicker crust can sometimes results from using whole grain flour. Finally, if you’re using a baking stone, remember that the oven temperature should be high. This creates steam, which helps the bread rise and develop its characteristic texture.
Perfecting Oven Temperature and Baking Time
To create a crunchy crust on your homemade bread, the right oven temperature is crucial. A recommended setting is around 450°F (232°C). This high heat helps in achieving that golden-brown exterior, which is a hallmark of artisan loaves. Using a baking stone can elevate your results even more. The stone holds heat and mimics the environment of a traditional hearth oven.
Preheating your oven properly is just as important. Allow at least 30 minutes for the oven to reach the desired temperature. Ignoring this step may lead to uneven baking. A well-preheated oven creates steam, essential for crust formation. Adding a pan with water can amplify steam production during the early minutes of baking.
Timing in the baking process is key. Usually, rustic bread needs about 25 to 40 minutes. However, this can vary based on the specific bread recipe and oven type. Keep an eye on the color and texture as it bakes. The crust should become a deep, golden hue, indicating it’s close to being done.
How can you tell when your bread is done? A reliable method is to perform a tap test. Gently knock on the bottom of the loaf. If it sounds hollow, you have likely achieved success. Additionally, an instant-read thermometer can come in handy. The internal temperature should reach around 200°F to 210°F (93°C to 99°C). Also, scoring the dough before baking can help achieve an even rise and better crust finish.
Final Thoughts on Baking Your Own Bread
Let’s recap the essential points. Creating delicious bread at home is both rewarding and fun. Start with quality ingredients. Knead the dough well to develop that perfect texture. Pay attention to fermentation; allowing it to rise slowly enhances flavor. Remember those crucial baking techniques to achieve a beautiful loaf. A hot oven gives you that much-desired crunchy crust.
Now that you know the steps, give it a try. Experiment with different flavors and ingredients. Don’t worry if it doesn’t turn out perfect the first time. Each attempt teaches you something new. Good things come to those who bake with patience and love.
Making your own bread brings a unique satisfaction. Imagine the aroma filling your kitchen as it bakes. The taste of warm, fresh bread is unlike anything else. Enjoy sharing it with family or savoring it yourself. This experience connects us to our food in a special way. So roll up your sleeves, and embrace the joy of baking!
