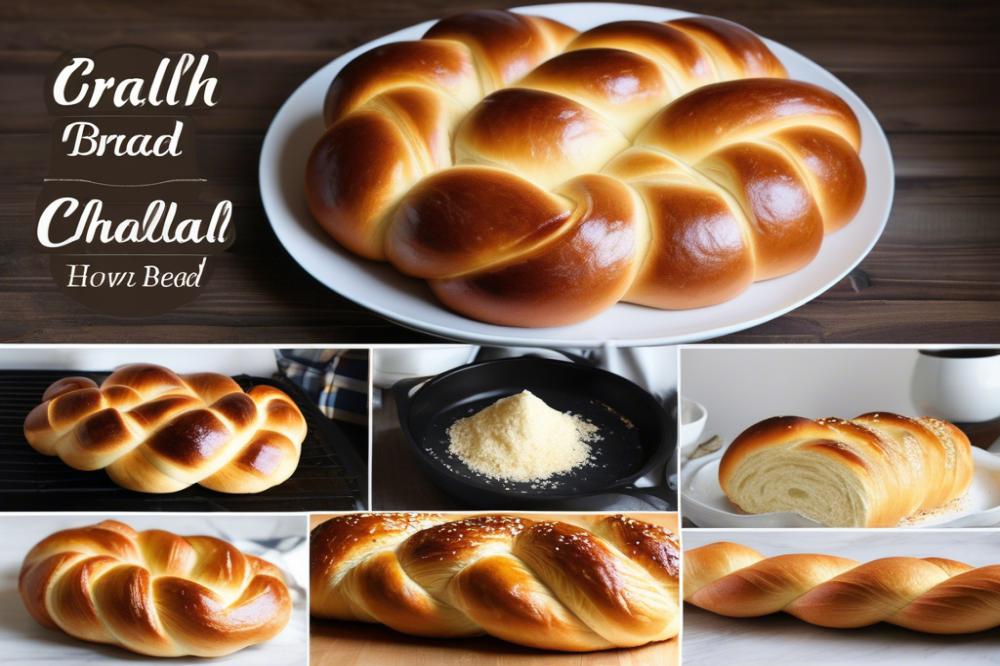
Creating Beautiful braided challah bread
Challah is a traditional Jewish bread that plays a significant role in many cultural and religious practices. This enriches dough, often made with eggs, is a symbol of joy and celebration, particularly during holidays and festive meals. The distinct braided shape of this bread is not just for aesthetics; it holds deep cultural significance. Each braid can symbolize unity, with the strands representing the connection between family and faith.
Beyond its rich history, homemade challah offers a personal touch that store-bought versions cannot match. The process of bread baking can be both rewarding and therapeutic. As the sweet aroma of freshly baked challah fills the kitchen, it transforms the space and uplifts the spirit. Crafting your own loaf allows for creative expression, whether you choose to follow traditional recipes or put your own twist on the dough.
Bringing this iconic Jewish bread to life in your own kitchen fosters a deeper appreciation for the craft. It also provides a wonderful opportunity to share with family and friends, making it ideal for gatherings. With some baking tips, anyone can master the technique of forming a beautiful braid. This bread is not only appealing because of its looks; it serves as a centerpiece on any table. When made at home, it becomes more than just food. It becomes part of a cherished tradition and a way to connect to one’s heritage.
Making braided challah bread can seem like a challenge, but the experience is worth it. Each step taken in creating this egg bread brings you closer to understanding the artistry behind it. Whether enjoyed on Shabbat or during holidays, the warm, sweet taste of homemade challah makes every occasion special. Finding the right Challah recipe can be the gateway to creating lasting memories.
Braided Challah Bread: Ingredients and Method
List of Ingredients with Quantities
To get started with your homemade challah, gather the following ingredients:
- 4 cups all-purpose flour
- 1/2 cup sugar
- 1 tablespoon salt
- 1 tablespoon active dry yeast
- 1/2 cup warm water
- 1/2 cup vegetable oil
- 4 large eggs
Nutritional Information Overview
This egg bread provides various nutrients. On average, one slice (about 40 grams) contains approximately:
- Calories: 120
- Protein: 4 grams
- Fat: 4 grams
- Carbohydrates: 18 grams
Step-by-Step Cooking Instructions
Follow these steps to create your enriched dough and braid the bread:
Start by activating the yeast. Mix the warm water, yeast, and a teaspoon of sugar in a small bowl. Let it sit for about 5-10 minutes until bubbly. This process is crucial for proper bread baking.
In a large bowl, combine flour, sugar, and salt. Make a well in the center, then add the activated yeast mixture, vegetable oil, and three eggs (reserve one egg for glazing). Mix until crumbly.
Knead the dough on a floured surface for about 8-10 minutes. It should be smooth and elastic. This step strengthens the dough, making it ideal for braiding.
Place the dough in a lightly oiled bowl and cover it with a clean towel. Allow it to rise in a warm place until it doubles, around 1 to 1.5 hours. This is the first rise.
Once the dough has risen, punch it down gently to remove air bubbles. Divide it into three equal pieces. Each piece will be rolled into long strands. Aim for about 12 to 14 inches in length for each strand.
To create a beautiful braided bread, lay the three strands side by side. Pinch the tops together. Braid by alternating the strands, starting from the right. Continue until you reach the bottom, pinching the ends together to seal.
Transfer the braided bread to a greased baking tray. Cover it with a towel and let it rise again for about 30 minutes. This second rise will make the bread light and fluffy.
Preheat the oven to 350°F (175°C). Before baking, take the reserved egg and whisk it with a bit of water. Brush the mixture over the top of the bread. This will give a lovely, golden crust.
Bake for 25-30 minutes or until the bread turns golden brown. Baking tips include checking for a hollow sound when tapping the bottom. Let it cool completely before slicing into this sweet bread. Enjoy this holiday bread during special occasions or as a delightful treat any day!
Understanding Enriched Dough
Enriched dough is a special type of bread dough. It includes ingredients like eggs, milk, and oil, which enhance its flavor and texture. Many traditional recipes for Jewish bread, such as homemade challah, fall into this category.
Use of eggs in enriched dough plays a crucial role. Eggs add richness and moisture, making the bread soft and tender. They also contribute to the bread’s golden color. Without eggs, the texture would be denser and less appealing.
Oil is another important element in this kind of dough. It helps to create a light and fluffy texture by lubricating the gluten strands. When oil combines with other ingredients, it results in sweet bread that remains fresh for longer periods. This aspect is particularly beneficial for holiday bread, which often needs to be enjoyed over several days.
Comparing enriched dough to other types of bread reveals interesting differences. For example, regular yeast bread typically uses only flour, water, salt, and yeast. Such bread lacks the richness found in egg bread. As a result, enriched dough often tastes sweeter and has a softer mouthfeel.
In bread baking, understanding the role of various ingredients can significantly alter the outcome. Different techniques apply when making braided bread versus simpler varieties. The complexity of enriched dough enriches the entire baking experience.
When making braided challah bread, remember that the quality of ingredients matters. Good eggs and high-quality oil can elevate the final product. Following baking tips can help achieve the desired flavor and texture. Experimenting with different proportions can lead to your best version of challah.
Braiding Techniques for Beautiful Shapes
When it comes to making challah, braiding methods play a crucial role in achieving an appealing look. There are various techniques, such as the three-strand and six-strand braids. Each technique has its own unique charm and elegance.
Overview of Different Braiding Methods
The three-strand braid is the most straightforward option. This technique creates a classic and easy-to-follow shape. Start by dividing the dough into three sections. Then, cross the outer strands over the middle one, alternating sides as you go. This method is perfect for beginners.
A six-strand braid offers a more complex and intricate design. It is often used for more decorative looks. To begin, create six equal portions of dough. Number them one through six. Cross strand one over strand two, then strand three over the new strand two. Continue crossing strands in pairs, which creates a lovely pattern. This type of braid enhances the visual appeal of your homemade challah.
Tips for Achieving a Uniform Braid
Uniformity matters in bread baking. Begin with sections of dough that are equal in size. This practice helps create an aesthetically pleasing braid. Additionally, work on a flat surface to maintain organization. It can be helpful to lightly flour your workspace to prevent sticking.
While braiding, keep the tension even across the strands. If one strand is too loose or too tight, the overall shape may become distorted. To prevent this, practice gentle extensions. Take your time as you work through each movement to maintain balance in your egg bread.
Visual Aids or Descriptions for Clarity
Many bakers find that having a visual reference helps in mastering braiding skills. Online videos can illustrate the techniques effectively. Alternatively, drawing diagrams of each step may clarify the process for visual learners.
For the three-strand braid, visualize a simple twist. For the six-strand method, think of a woven fabric. This mental image can help guide you as you move through the braiding actions. Using the right approach leads to delightful outcomes, whether you are making traditional recipes for a holiday bread or a family gathering.
Baking Tips for Perfecting Challah Bread
Advice on Dough Rising and Proofing
Proving the dough is crucial in bread baking. Start with a warm spot in your kitchen to create the right environment. If the room is too cold, the dough may not rise as it should. A common trick is to place the dough near a warm oven or in a microwave with just the light on. Cover the bowl with a damp cloth. This prevents the dough from drying out. Allow it to double in size, which usually takes about one to two hours. This enriched dough should feel lighter and airy when it’s ready.
Recommended Baking Temperatures and Times
Preheat your oven to 350°F (175°C) before baking. This temperature is ideal for a golden crust. Place the braided loaf in the oven once it has fully risen and the glaze is applied. Baking time typically ranges from 30 to 40 minutes, depending on your oven’s exact specifications. Look for a deep golden color on the crust. You can tap the bottom of the loaf; a hollow sound indicates it’s done.
Tips to Enhance Flavor with Toppings and Glazes
Toppings can elevate the taste of your homemade challah. A traditional choice is sesame seeds, which add a nutty flavor. Some bakers like to use poppy seeds for a different texture. Brush the top with an egg wash made from beaten eggs before baking. This gives the loaf a shiny, golden finish. For a touch of sweetness, sprinkle a little cinnamon sugar on top before baking. Experimenting with flavors can make your egg bread unique for each holiday. Traditional recipes vary according to family preferences, so feel free to make it your own.
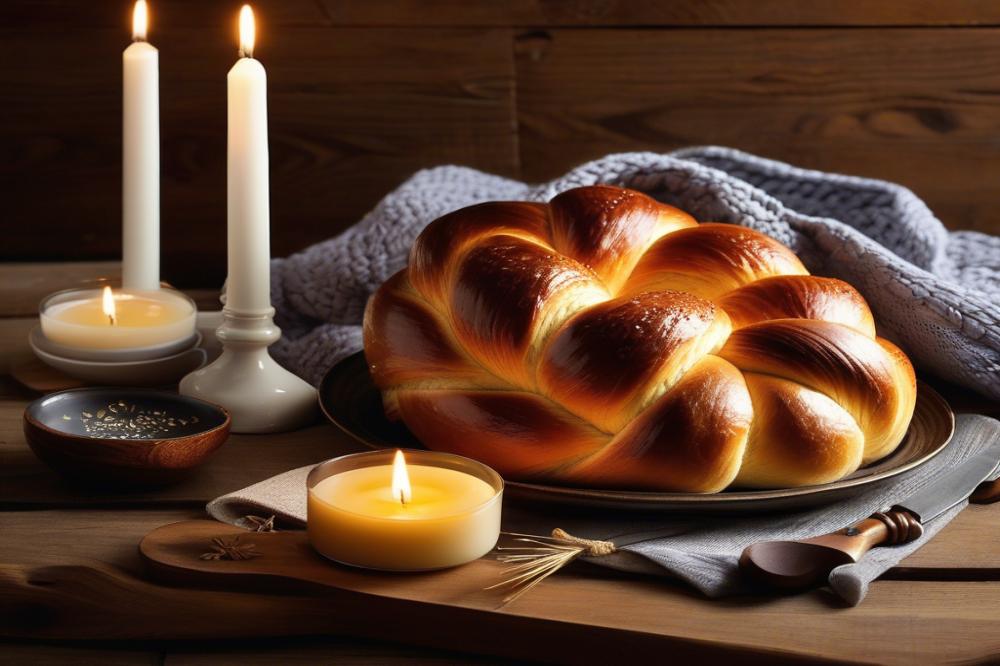
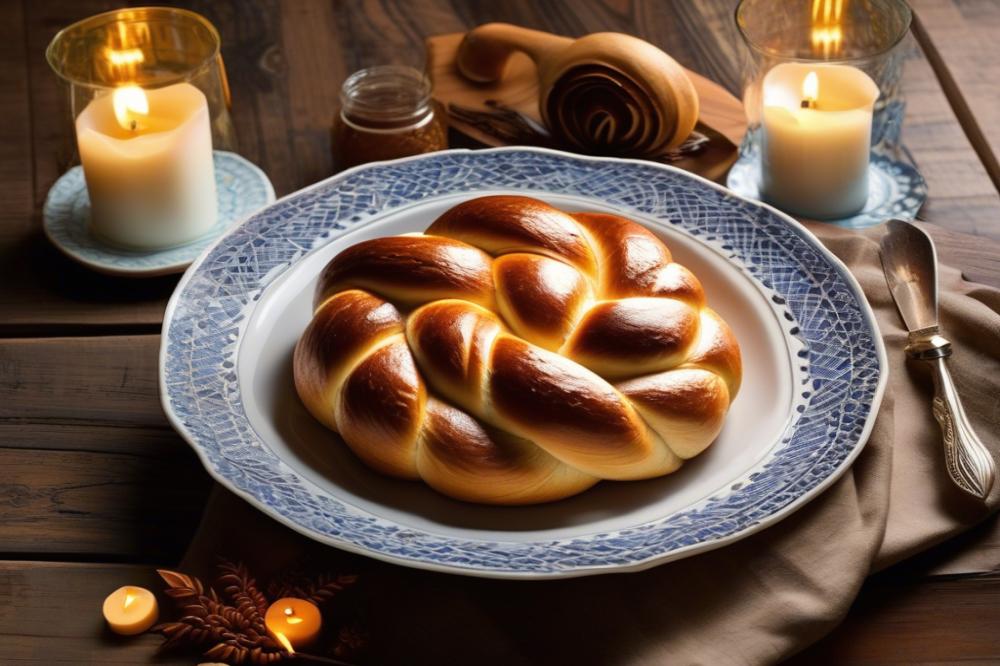
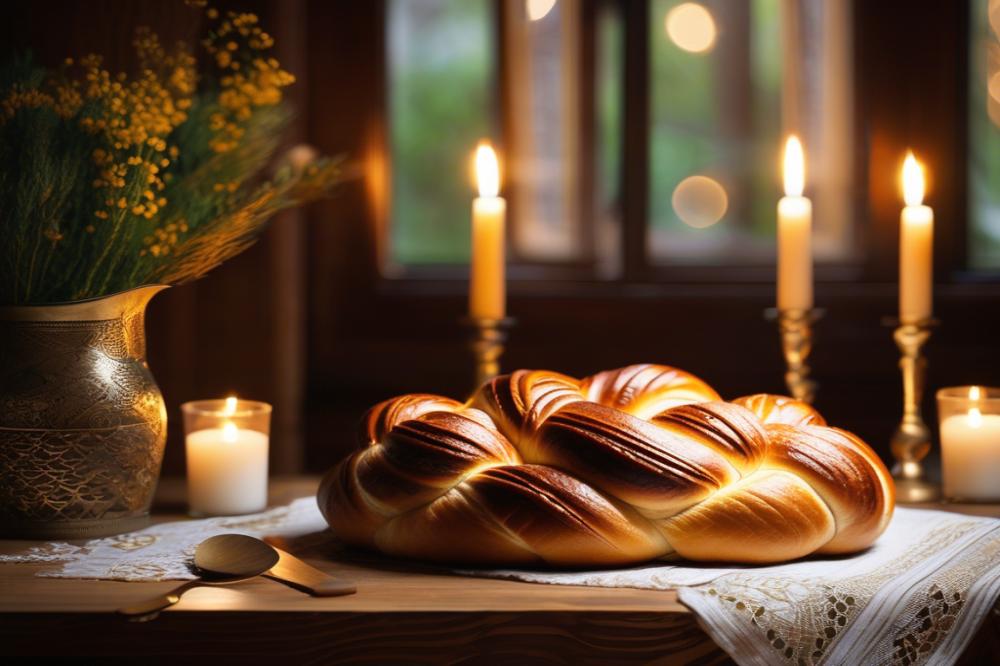
Serving and Enjoying Homemade Challah
Challah is not just any bread. It holds a special place in many Jewish traditions. People often serve this braided bread during holiday meals, like Rosh Hashanah and Shabbat. The soft texture and golden color make it a festive addition to the table. Additionally, there are unique recipes that use challah beyond traditional purposes. For instance, it can be transformed into sumptuous French toast or delicious bread pudding, showcasing its versatility.
Suggested Pairings
When it comes to enjoying homemade challah, your choices for toppings are plentiful. Jams and honey can add a sweet touch. Strawberry jam or apricot preserves are popular. Savory spreads, like cream cheese or hummus, work remarkably well too. Many people enjoy pairing this sweet bread with olive oil and balsamic vinegar for dipping. Some even sprinkle herbs on top for added flavor. The right pairing can enhance every bite and create delightful combinations.
Preservation Tips for Freshness
Maintaining the freshness of your enriched dough is crucial for the best experience. After baking, allow the bread to cool completely. Wrapping it in plastic wrap can help trap moisture. For long-term storage, consider freezing portions. Slicing it before freezing can make it easier to enjoy later. When you want a slice, simply thaw it at room temperature or use the toaster for a quick heat-up. Avoid leaving challah out in the open for too long, as it can dry out quickly. Following these baking tips will ensure every bite remains enjoyable.
Wrapping Up the Art of Braiding
Braided challah bread holds a special place in many homes. This traditional Jewish bread is not only delicious but also symbolizes unity and celebration. Many families enjoy making it together, especially during holidays and special occasions. The process of creating such a beautiful bread becomes a cherished memory in itself.
Venturing beyond basic recipes offers exciting possibilities. Consider experimenting with different flavors, such as adding chocolate or fruits to the dough. Various toppings, ranging from sesame seeds to flaky sea salt, can enhance the overall taste. Utilizing diverse braiding techniques can also elevate the visual appeal. Play with three-strand braids, six-strand variations, or even intricate shapes that tell a story.
Enjoying bread baking at home brings satisfaction and a sense of accomplishment. The warmth of freshly baked goods fills the kitchen with comfort. Don’t hesitate to share the results with family and friends. Ultimately, the experimental journey in the kitchen can lead to delightful experiences and encourage lasting traditions. Embrace the process and create memories one loaf at a time.
